As a Southern staple, grits are a beloved dish that can be enjoyed any time of day. Whether you’re making them fresh or reheating leftovers, knowing how to reheat grits properly is crucial to maintaining their texture and flavor.
In this article, I will share my tips and tricks for reheating grits so that they taste just as good as when they were first made.
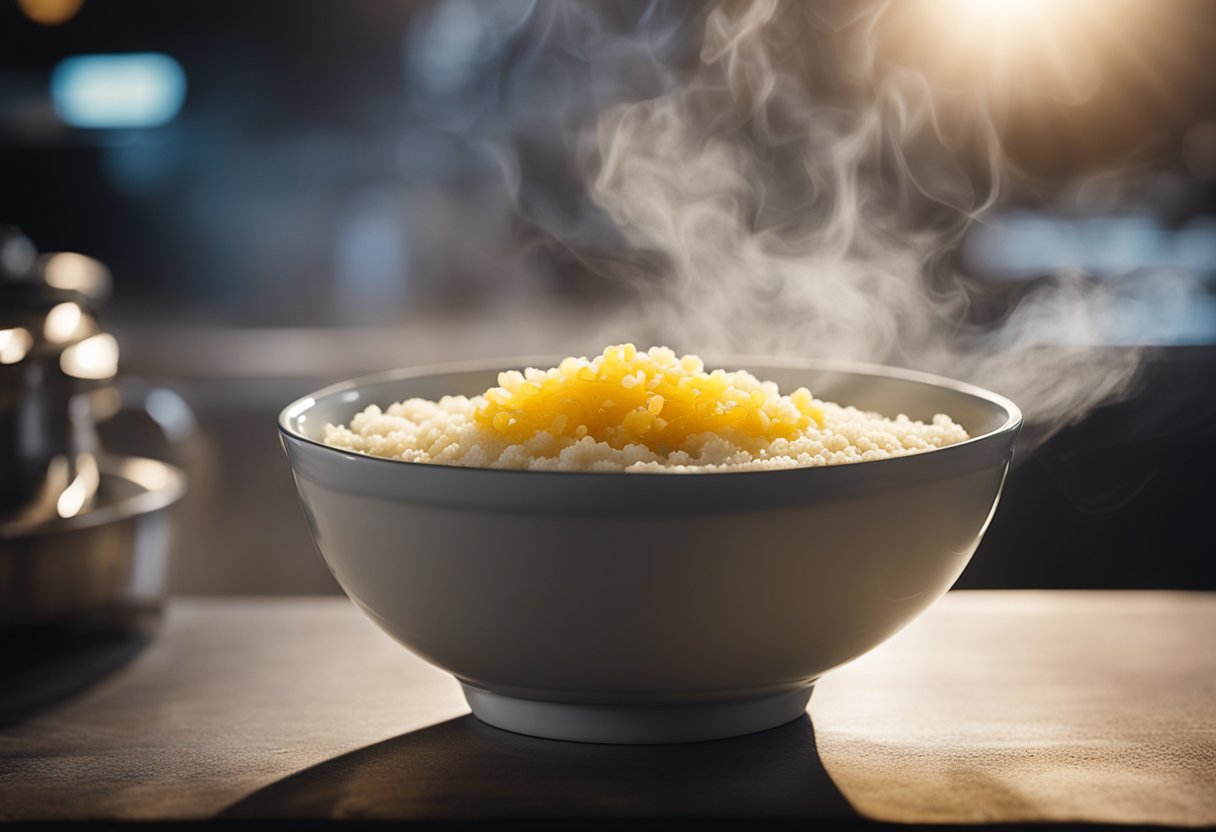
Before we dive into the reheating methods, it’s important to have a basic understanding of what grits are. Grits are made from ground corn and can be served as a savory or sweet dish.
They have a thick, creamy texture and are often served with butter, cheese, or bacon. When reheating grits, it’s important to keep their texture in mind so that they don’t become too dry or clumpy.
Key Takeaways
- Reheating grits on the stovetop is the preferred method for maintaining their texture and flavor.
- Adding liquid such as milk or broth can help enhance the texture and prevent grits from becoming too dry.
- Grits can be stored in the fridge or freezer for later use.
Understanding Grits
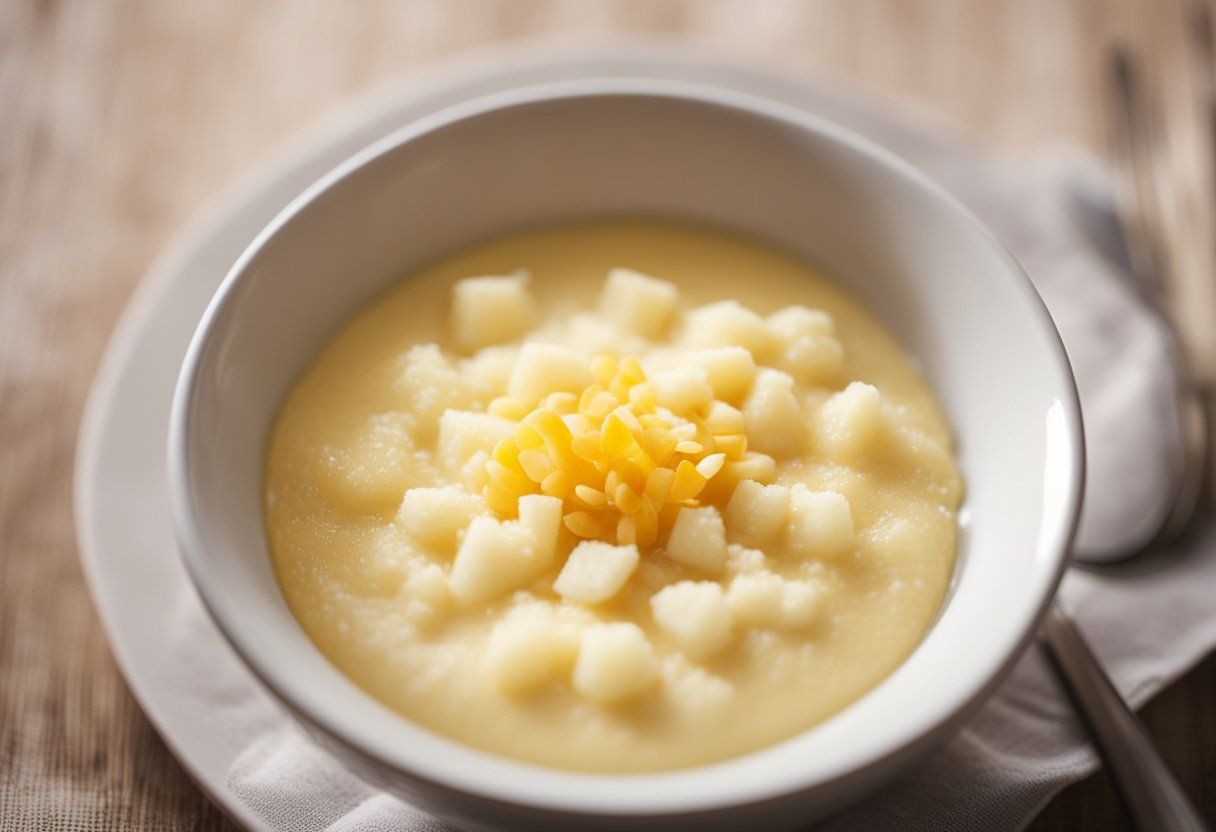
As a Southern staple and comfort food, grits are a beloved dish in many households. Grits are made from ground corn, specifically yellow corn that has been treated with an alkali solution, known as hominy.
This process, called nixtamalization, removes the hull and germ from the corn, making it easier to digest and increasing its nutritional value.
Grits can be prepared in a variety of ways, but they are typically boiled in water or milk until they reach a creamy consistency.
They can be served plain or with a variety of toppings, such as butter, cheese, bacon, or shrimp. Grits are a versatile dish that can be enjoyed at any time of day, from breakfast to dinner.
When it comes to reheating grits, it’s important to do it properly to avoid ending up with a lumpy or dry mess.
The best way to reheat grits is on the stovetop, as this allows for better control of the heat and consistency. Adding a small amount of liquid, such as milk, water, or broth, can help restore the creaminess of the grits.
Overall, grits are a delicious and nutritious dish that can be enjoyed in a variety of ways. Whether you prefer them plain or loaded with toppings, grits are a classic Southern comfort food that is sure to satisfy.
Why Reheat Grits
As someone who enjoys grits, I often find myself with leftover grits that I want to reheat for a quick and easy meal. Grits can be a delicious breakfast, lunch, or dinner side dish, but they can lose their flavor and texture if not reheated properly.
Reheating grits is important for a few reasons. First, it allows you to enjoy leftover grits without wasting food. Second, it saves time and effort in preparing a new meal from scratch.
Third, reheated grits can taste just as good as freshly made grits if reheated properly.
Leftover grits can be used as a base for a variety of dishes, from shrimp and grits to cheesy grits casserole. Reheating grits properly can make them just as tasty as the first time around.
However, improper reheating can result in lumpy and bland grits that are unappetizing.
Whether you’re reheating grits for breakfast, lunch, or dinner, it’s important to use the right technique. There are several methods to reheat grits, including stovetop, microwave, and oven.
Each method has its own advantages and disadvantages, and it’s important to choose the method that works best for you.
Overall, reheating grits is a great way to enjoy a quick and easy meal without wasting food. With the right technique, leftover grits can be just as delicious as freshly made grits.
Whether you’re reheating grits for breakfast, lunch, or dinner, it’s important to choose the right method to ensure that your grits come out perfectly every time.
Reheating Grits on the Stovetop
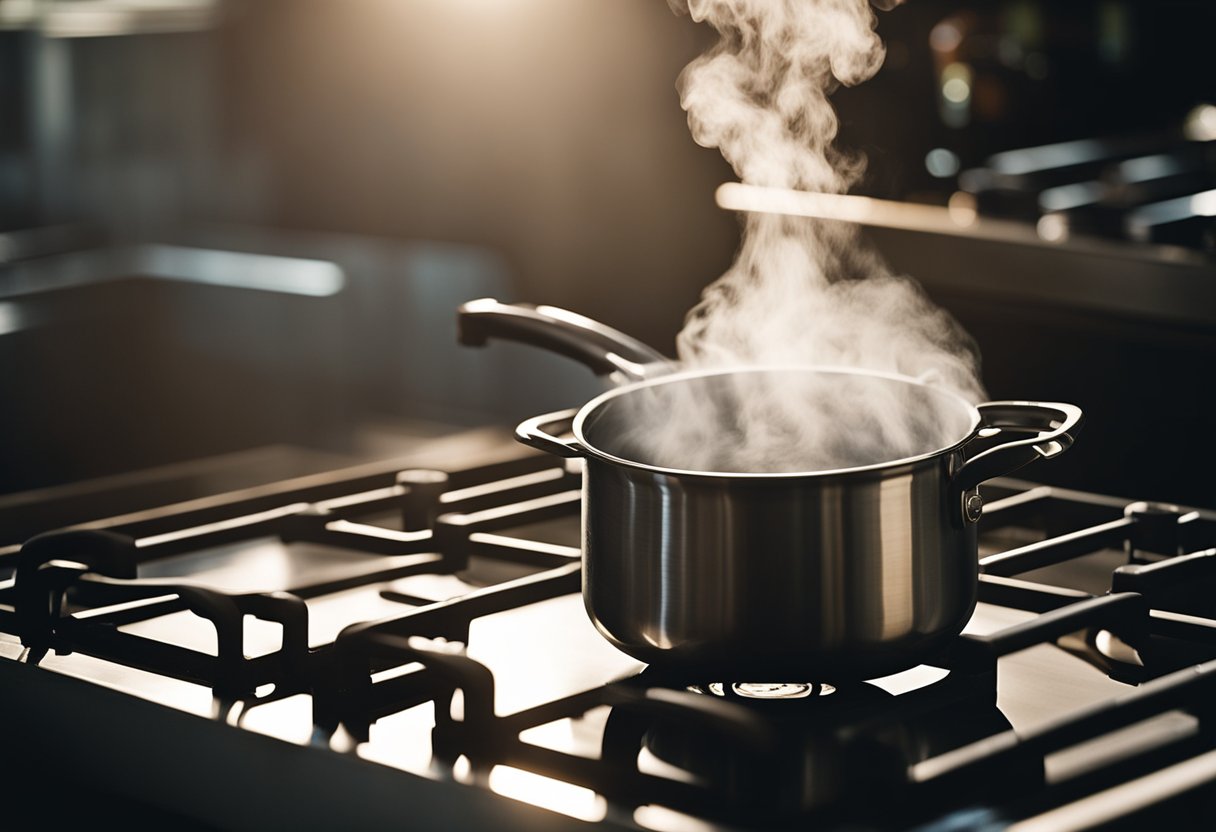
When it comes to reheating grits, using the stovetop method is the preferred option for many people. This method is quick, easy, and allows for optimum control of heat.
Here’s how to reheat grits on the stovetop using a non-stick saucepan.
Stovetop Method
- Put the grits in a non-stick saucepan.
- Add a small amount of milk, water, or broth to the dish. This will help to loosen the grits and prevent them from drying out.
- Place the saucepan on the stove over medium heat. Stir occasionally to prevent any clumping or scorching.
- Once the grits have started to heat up, you may need to add more liquid to the pan. This will depend on how thick or thin you like your grits.
- Continue to stir the grits until they are heated through and have reached your desired consistency.
Using a Non-Stick Saucepan
When reheating grits on the stovetop, it is important to use a non-stick saucepan. This will prevent the grits from sticking to the bottom of the pan and burning.
To ensure that your grits are evenly reheated, it is also important to stir them frequently. This will help to distribute the heat and prevent any clumps from forming.
Overall, reheating grits on the stovetop is a quick and easy way to enjoy leftover grits. By following these simple steps, you can enjoy creamy and delicious grits that are just as good as the day they were made.
Reheating Grits in the Microwave
When it comes to reheating grits, the microwave can be a quick and convenient option. Here are the steps to follow:
- Put the grits in a microwave-safe container.
- Stir in a small amount of water, milk, or broth. This will help to loosen up the texture and prevent the grits from drying out.
- Cover the container with a microwave-safe lid or plastic wrap. This will help to seal in moisture and prevent splattering during the reheating process.
- Microwave the grits on high heat for 30 seconds at a time, stirring in between each interval. The exact time will depend on the wattage of your microwave and the amount of grits you are reheating.
- Check the temperature of the grits to make sure they are heated through. If they are still cold in the center, continue microwaving in 30-second intervals until they are hot.
It’s important to reheat grits gradually in the microwave to avoid overcooking them or creating a rubbery texture. If you need to reheat a large batch of grits, it’s best to do it in smaller portions to ensure even heating.
When reheating grits in the microwave, it’s important to use a microwave-safe container and cover it to prevent splattering.
Adding a small amount of liquid to the grits will help to prevent them from drying out and becoming tough. By following these simple steps, you can enjoy hot and delicious grits in just a matter of minutes.
Reheating Grits in the Oven
When it comes to reheating grits, using the oven is a great option. It allows you to reheat larger portions of grits at once and ensures that they are evenly heated. Here’s how to reheat grits in the oven:
- Preheat your oven to 350°F.
- Place your leftover grits in an oven-safe dish or casserole dish.
- Add a small amount of milk, water, or broth to the dish to loosen up the thick, cold texture of the grits.
- Stir the grits and liquid together until well combined.
- Cover the dish with a lid or aluminum foil to prevent the grits from drying out.
- Place the dish in the preheated oven and bake for 10-15 minutes, or until the grits are heated through.
It’s important to note that the exact baking time may vary depending on the amount of grits you are reheating and the thickness of the dish you are using.
Keep an eye on the grits and check them regularly to avoid overcooking or burning them.
Using the oven to reheat grits is a great option if you are looking to reheat a large portion of grits at once. However, it may not be the fastest option.
If you are in a hurry, consider using the stovetop or microwave to reheat your grits instead.
Overall, reheating grits in the oven is a simple and effective way to enjoy leftover grits. Just make sure to keep an eye on them to avoid overcooking or drying them out.
Adding Liquids for Reheating
When reheating grits, adding the right liquid can make all the difference. The goal is to loosen up the thick, cold texture and bring it back to its original creamy consistency. Here are some liquids you can use:
Water
Water is the most basic liquid you can use to reheat grits. It’s readily available and won’t add any additional flavor to the dish. However, it can make the grits taste bland if you don’t add any seasoning.
To reheat grits with water, put the grits in a non-stick pot and add enough water to loosen up the texture. Heat the grits over medium heat, stirring frequently to prevent sticking.
If the grits become too thick, add more water until you reach the desired consistency.
Milk
Milk is a popular choice for reheating grits because it adds a creamy texture and a hint of sweetness to the dish. You can use any type of milk, from whole milk to almond milk, depending on your preference.
To reheat grits with milk, put the grits in a non-stick pot and add enough milk to loosen up the texture. Heat the grits over medium heat, stirring frequently to prevent sticking.
If the grits become too thick, add more milk until you reach the desired consistency.
Broth
Broth is a flavorful liquid that can add depth to your grits. You can use chicken, beef, or vegetable broth, depending on the flavor profile you’re going for.
To reheat grits with broth, put the grits in a non-stick pot and add enough broth to loosen up the texture. Heat the grits over medium heat, stirring frequently to prevent sticking.
If the grits become too thick, add more broth until you reach the desired consistency.
Other Liquids
Aside from water, milk, and broth, you can also use other liquids to reheat grits. For example, you can use cream, coconut milk, or even beer to add a unique flavor to your grits.
Just make sure to add the liquid gradually and stir constantly to prevent the grits from sticking to the bottom of the pot.
In conclusion, adding the right liquid is key to reheating grits. Whether you prefer water, milk, broth, or other liquids, make sure to add enough to loosen up the texture and bring it back to its original creamy consistency.
Enhancing Grits’ Texture and Flavor
When reheating grits, it’s important to not only get the temperature right but also to enhance their texture and flavor.
Here are some tips and tricks to make your reheated grits taste as good as the first time.
Add Cream or Cheese
Adding cream or cheese to your grits can help make them creamier and richer in flavor. You can add a dollop of cream or a sprinkle of shredded cheese to your grits before reheating them.
Alternatively, you can mix in a little bit of cream or cheese while reheating them on the stove or in the microwave.
Add Butter or Bacon
Butter and bacon are two ingredients that can add a lot of flavor to your grits. Simply stir in a pat of butter or some crumbled bacon into your reheated grits for an extra savory kick.
Add Shrimp
If you want to take your grits to the next level, consider adding some shrimp. Simply sauté some shrimp in a pan with butter and garlic, and then mix them into your reheated grits.
The result is a delicious and filling meal that’s perfect for any time of day.
Adjust Consistency
When reheating grits, it’s important to make sure they don’t become too dry or too runny. To adjust the consistency, you can add a little bit of liquid (such as milk, water, or broth) to your grits before reheating them. This will help keep them soft and creamy.
Season with Salt and Pepper
Finally, don’t forget to season your grits with salt and pepper to taste. Adding a little bit of salt and pepper can help bring out the natural flavors of the grits and make them taste even better.
By following these tips and tricks, you can enhance the texture and flavor of your reheated grits and enjoy a delicious meal every time.
Storing and Freezing Grits
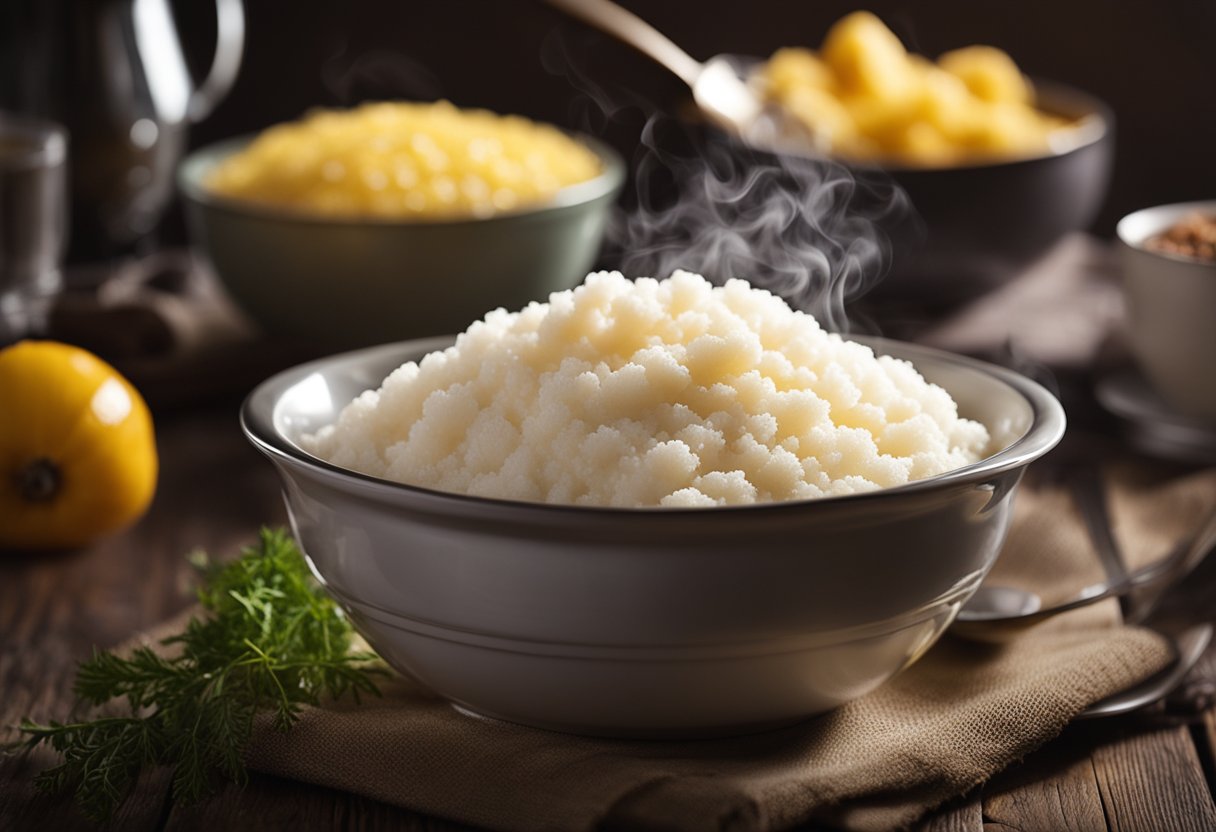
After cooking grits, you may have leftovers that you want to store for later use. Storing grits properly is essential to maintain their quality and freshness. Here are some tips on how to store and freeze grits:
Airtight Container
To store grits in the refrigerator, transfer them to an airtight container and store them in the refrigerator for up to 6 days. An airtight container will prevent the grits from drying out and absorbing odors from other foods in the fridge.
Freezing Grits
If you have more grits than you can eat within a week, you can freeze them for later use. To freeze grits, let them cool down to room temperature, then transfer them to an airtight container or a freezer bag.
Label the container with the date and freeze for up to 6 months.
When you’re ready to use the frozen grits, thaw them in the refrigerator overnight. To reheat, follow the instructions for reheating grits in our previous section.
Freezing grits may change their texture slightly, but they should still taste good.
Shelf Life
Grits have a shelf life of about 6 days in the refrigerator and up to 6 months in the freezer. However, the quality of the grits may decline over time, especially if they are not stored properly.
It’s best to consume grits within the recommended time frame to ensure optimal taste and texture.
In summary, storing and freezing grits is easy if you follow a few simple guidelines. Use an airtight container to store grits in the fridge and label them with the date.
Freeze grits for up to 6 months, and thaw them in the refrigerator before reheating. With these tips, you can enjoy delicious grits anytime, anywhere.
Comparing Reheating Methods
When it comes to reheating grits, there are a few different methods to choose from. In this section, I will compare the pros and cons of each method to help you decide which one is best for you.
Pros and Cons of Each Method
Stovetop
Pros:
- Quick and easy
- Provides optimum control of heat
- Allows you to easily add more liquid if necessary
Cons:
- Can sometimes result in a slightly grainy texture
The stovetop method is a popular choice because it’s quick, easy, and provides you with optimum control of heat. You can easily add more liquid if necessary, which helps to prevent the grits from drying out.
However, this method can sometimes result in a slightly grainy texture, which may not be ideal for everyone.
Microwave
Pros:
- Quick and easy
- No need to dirty additional dishes
Cons:
- Can sometimes result in uneven heating
- May dry out the grits if not careful
The microwave method is a convenient choice because it’s quick and easy, and there’s no need to dirty additional dishes.
However, this method can sometimes result in uneven heating, which can leave some parts of the grits cold while others are scorching hot. Additionally, if you’re not careful, the grits can dry out in the microwave.
Oven
Pros:
- Good for larger batches
- Can help to create a crispy top layer
Cons:
- Takes longer than other methods
- Can sometimes result in a dry texture
The oven method is a good choice if you’re reheating a larger batch of grits. It can also help to create a crispy top layer, which some people find appealing.
However, this method takes longer than other methods, and it can sometimes result in a dry texture.
Best Way to Reheat Grits
In my opinion, the best way to reheat grits is on the stovetop. This method is quick and easy, and it allows you to easily add more liquid if necessary.
Additionally, it provides optimum control of heat, which helps to prevent the grits from drying out. However, if you prefer the convenience of the microwave or the crispiness of the oven, those methods can also be effective if you use them correctly.
Conclusion
In conclusion, reheating grits is a simple process that can be done in various ways. The choice of method depends on personal preference and the equipment available.
However, to achieve the best results, it is important to follow the instructions carefully.
When reheating grits, it is important to monitor the temperature to avoid overcooking or drying out the grits. Using a microwave, stovetop, or oven are all viable options, but each method requires specific steps and attention to detail.
Overall, reheated grits can be just as delicious as freshly made grits if reheated properly. By following the instructions and monitoring the process, anyone can enjoy a warm and comforting bowl of grits without having to start from scratch.
Frequently Asked Questions
How can I keep my cooked grits warm for a party?
If you want to keep your cooked grits warm for a party, you can use a slow cooker or a chafing dish. Simply set the slow cooker or chafing dish to the lowest heat setting and transfer the cooked grits to the dish.
Stir occasionally to prevent the grits from sticking to the bottom and to ensure even heating.
Is it safe to reheat grits the next day?
Yes, it is safe to reheat grits the next day. However, you should make sure that the grits are stored properly in an airtight container in the refrigerator.
When reheating, make sure that the grits are heated to an internal temperature of 165°F to kill any bacteria that may have grown.
What is the best way to reheat cheese grits casserole?
The best way to reheat cheese grits casserole is to use an oven. Preheat the oven to 350°F, place the casserole dish in the oven, and cover it with aluminum foil. Bake for 20-25 minutes or until the casserole is heated through.
What is the proper way to store cooked grits?
The proper way to store cooked grits is to transfer them to an airtight container and store them in the refrigerator for up to 3-4 days. If you want to store them for a longer period, you can freeze them for up to 6 months.
What are some recipes that use fried grits?
Fried grits can be used in a variety of recipes, such as grits cakes, grits fritters, and grits croquettes. You can also use them as a base for a breakfast bowl or as a side dish for fried chicken or shrimp.
Can grits be frozen and reheated?
Yes, grits can be frozen and reheated. To freeze, transfer the cooked grits to an airtight container or a freezer bag and store them in the freezer for up to 6 months.
To reheat, thaw the grits in the refrigerator overnight and then reheat using your preferred method.