If you’ve ever been inside a cake shop or have been invited to a particularly extravagant birthday party, you’ve probably seen cakes with pictures on them. You’ve likely wondered: how does one even put a picture on a cake?
Well, friend, you’ve come to the right place. Putting pictures on cakes is a great way to personalize your dessert and make it unique. With the right tools and a little bit of know-how, you can easily transfer any edible design or image onto the surface of your cake. Whether you want to celebrate a special occasion, commemorate a memorable event, or simply impress your guests with your creativity, putting pictures on cakes is an excellent way to do so.
In this guide, we will cover all of the essential steps and techniques you need to know when it comes to putting pictures on cakes successfully. One of the most popular methods involves tracing an image onto a piece of wax paper, piping icing over the design, and freezing it. From there, you can flip the image onto your cake. There are also, of course, photo cakes, which are a whole different ball game. We’ll go over all of this in more detail below, so keep reading if you want to know more!
What are Photo Cakes? How Does it Work?
Photo cakes are cakes that have an image or photo printed on their surface using edible ink. The image is transferred onto a special icing sheet, made of sugar and cornstarch, which is then placed on top of the cake. The process of making a photo cake involves printing an image on the icing sheet using edible ink and then carefully placing the sheet onto the cake. The result is a stunning cake that looks just like a photograph and is safe to eat.
The technology used to print the images is similar to that used in inkjet printers, but the ink used is edible and meets food safety standards. The process is simple and fast, and results in a cake that is both beautiful and delicious. One of the best things about photo cakes is you can use any photo you like, so if you’ve ever wanted to eat your cat’s face or your favorite video game character, now is your time.
How Do You Put Edible Pictures on Cakes?
Putting edible pictures on cakes is certainly not a five-minute project, however, the process is more simple than you might think. Let’s go over some of the most basic methods you can use to put any picture you want on a cake.
Method 1: Edible Image Transfer
This method involves printing an image onto an icing sheet using edible ink and then placing the sheet onto the cake. The image will then adhere to the frosting and become a permanent part of the cake.
Materials You’ll Need:
- Edible Image sheets
- Edible ink printer (or access to one)
- Scissors or a sharp knife
- Ruler or measuring tape
- Cake board or turntable
- Frosting or buttercream
- A flat surface for printing the image
Steps:
- Choose the image you want to print on your cake and make sure it’s the right size.
- Load the edible image sheets into the edible ink printer and print the image.
- Carefully remove the printed image from the printer and let it dry for several minutes.
- Measure and cut the image to the correct size, using a ruler or measuring tape.
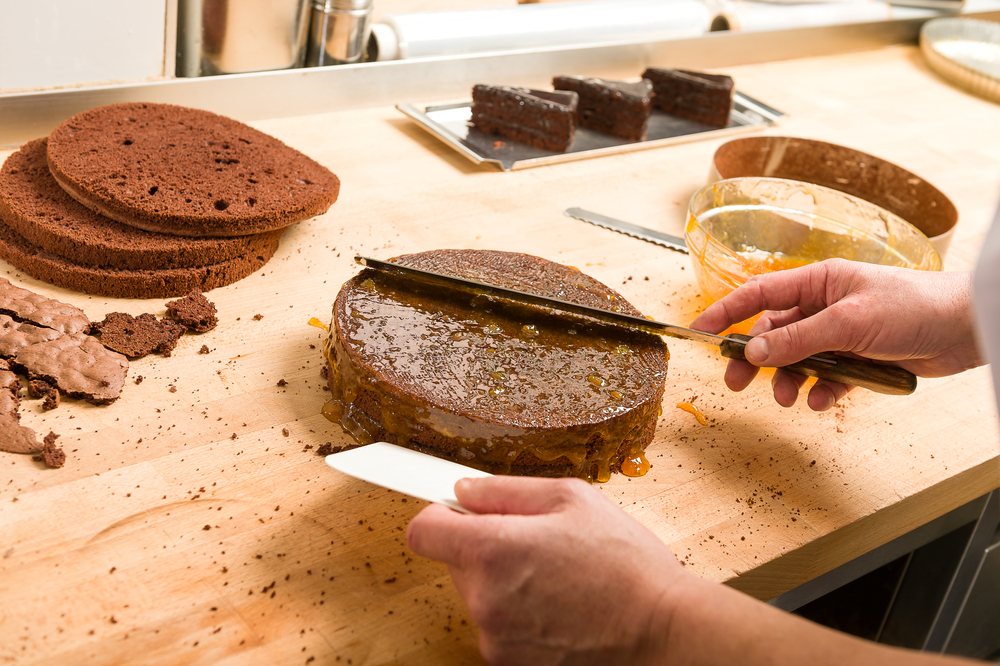
- Prepare the cake surface by frosting the cake or spreading a thin layer of buttercream over the top.
- Place the image on top of the frosting, smoothing out any wrinkles or bubbles.
- Gently press down on the image to make sure it adheres to the frosting.
- Allow the cake to set for a few minutes, then serve and enjoy!
Method 2: Fondant Transfer
In the fondant transfer method, an image is printed onto a thin sheet of fondant using edible ink, which is then placed on top of the cake. The fondant is then trimmed to fit the cake and smoothed over the surface to create a seamless look.
Materials You’ll Need:
- Edible image sheets
- Edible ink printer
- Rolling pin
- Fondant
- Scissors
- Ruler or measuring tape
- Cake board
- Parchment paper or a silicone mat
- Cornstarch or powdered sugar for dusting
Steps
- Choose the image you want to print, again making sure it’s the right size for your cake.
- Like with the first method, load the edible image sheets into the printer and print your image.
- Remove the printed image, and let it dry. This should only take a few minutes.
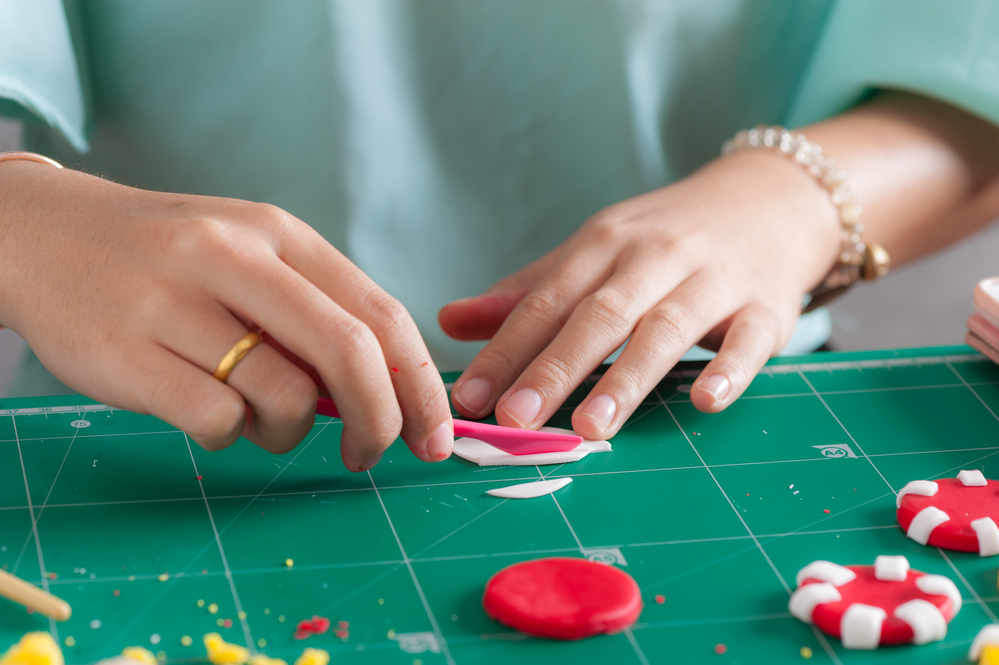
- Roll out the fondant to a thickness of about ⅛ inch on a lightly dusted surface.
- Place the image face-up on the fondant and gently press down to make sure it adheres.
- Cut the fondant around the image with the scissors, leaving a small border.
- Transfer the fondant and image to a lightly dusted cake board.
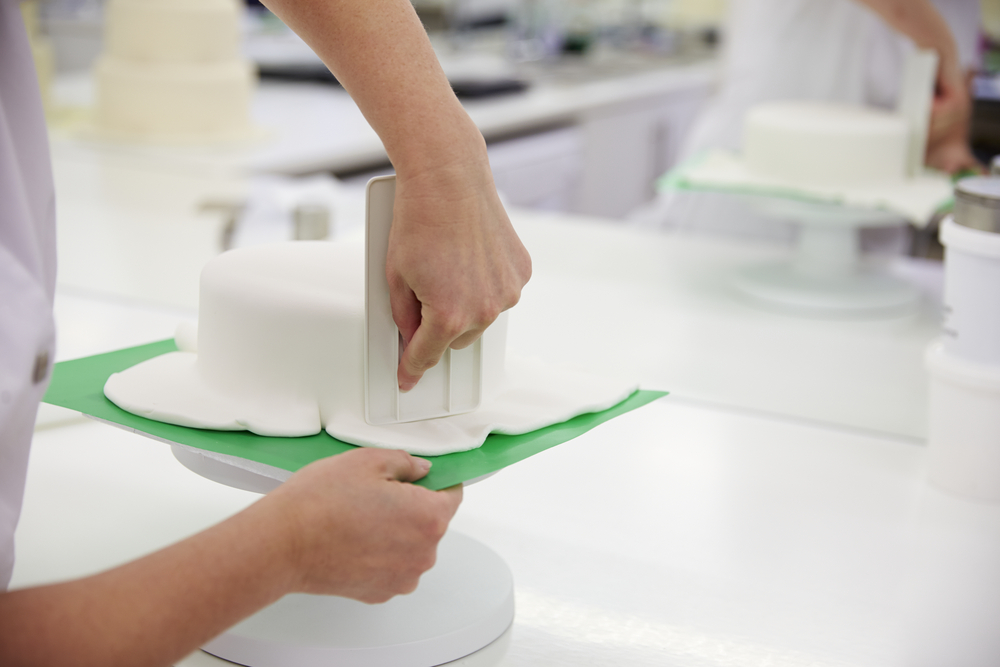
- Carefully place the fondant on top of the cake, smoothing out any wrinkles.
- Trim the fondant to fit the cake.
- Once you’ve allowed the cake to set, you can serve it up to your guests!
Method 3: Royal Icing Transfer
With this method, you’ll need to print an image onto wax paper and then trace the design onto the cake using royal icing. You can then use the icing to fill in the design, which should create a raised relief on the surface of the cake.

Materials You’ll Need:
- Edible image sheets
- Edible ink printer
- Wax paper
- Royal icing
- Scissors or a sharp knife
- Measuring tape or a ruler
- Cake board or turntable
- Piping bags (plastic bags will also work)
- Couplers and tips (optional)
- Food coloring (optional)
Steps:
- Choose and correctly size the image you want to put on your cake.
- Print the image onto the wax paper using the edible ink printer with the image sheets.
- Carefully remove the printed image, again letting it dry for a few minutes.
- Cut the printed image out of the wax paper. Make sure to leave a small border.
- Prepare the royal icing, adding food coloring if desired.
- Place the printed image face-up on the turntable or cake board.
- Spoon or pipe the royal icing over the image, following the outlines of the design.
- Allow the royal icing to dry completely. This can take several hours, but it may be best to let it dry overnight.
- Once the royal icing has dried, carefully remove the wax paper from the back of the image.
- Place the royal icing transfer onto your cake, using frosting or buttercream to secure it in place.
- Let the cake set for several minutes, and serve it up!
Method 4: Airbrush Transfer
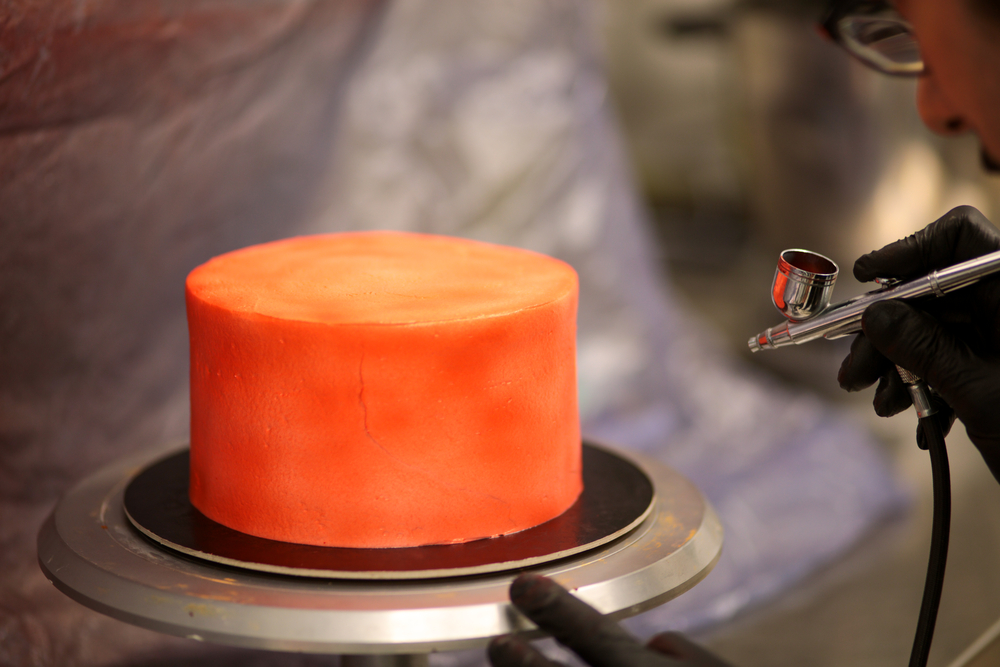
The airbrush transfer method involves using an airbrush to spray edible food coloring onto the cake’s surface. This method is best suited for cakes with smooth surfaces and you can use it to create a number of interesting effects, such as subtle shading and bold, eye-catching details.
Materials You’ll Need:
- Edible airbrush color
- Airbrush machine
- Cake board
- A fondant or buttercream-covered cake
- Masking or stencil material (optional, but helpful for more intricate designs)
Steps:
- Choose the image you want to airbrush, once again making sure it’s the right size for the cake.
- Load the edible airbrush color into the airbrush machine.
- Place the cake on the cake board. If you’d like to, you can use masking or a stencil to block off the areas of the cake where you don’t want color to be applied.
- Hold the airbrush machine about 6 inches away from the cake and begin airbrushing the image, following the outlines of the design. It’s a good idea to work slowly and carefully, building up the color in thin layers until you achieve the intensity you want.
- Remove the masking or stencil material, if used.
- Allow the cake to set, then serve it to your guests!
Tips
- For the edible image transfer method, make sure you are handling the edible image sheets carefully, as they can tear easily. Always handle your printed images with clean, dry hands, and avoid touching the printed sides of the image. The same goes for handling fondant.
- The royal icing method is best for more details designs, as the raised relief created by the icing can enhance the appearance of the image on the cake. However, this method does take some time, as the icing needs to dry completely before you transfer the image.
- In contrast to the royal icing method, the airbrush method is best for simple designs or solid blocks of color. With practice, you can achieve precise control over the flow and intensity of the airbrush color, making it an excellent choice for adding unique images to your cakes.
How Far in Advance Can You Put an Edible Image on a Cake?
The longevity of an edible image on a cake depends on the type of cake, the method you choose to use for applying the image, and the storage conditions. Edible image sheets are the most stable form of edible images, and can be applied to a cake up to several days in advance.
Royal icing transfers are also relatively stable, but they may become slightly brittle or crack over time if exposed to high humidity or temperature fluctuations. It’s best to apply royal icing transfers to a cake no more than a day or two in advance.
Airbrushed images are the least stable form of edible images, and are best applied just before you serve the cake. The problem with airbrushed images is they can become smudged or smeared if the cake is handled too much or if condensation starts to form on the surface.
You should always store your cake in a cool, dry place, away from direct sunlight and sources of moisture. One thing you can do is keep your cake in a cake box or cover it with plastic wrap to help maintain its freshness and prevent the edible image from becoming smudged or otherwise damaged.
Final Thoughts
Putting pictures on cakes is an excellent way to add a personal touch and make your baked creations truly unique. There are a variety of methods to choose from, each with its own set of pros and cons. No matter which method you decide to choose, it’s important to be patient. Follow all instructions carefully, and use high-quality, food-grade materials to ensure that your images are safe to eat.
With just a little bit of practice and creativity, you’ll be able to create beautiful and delicious cakes that are sure to impress your friends and family members. Good luck with your cake-decorating endeavors! We hope this guide has been helpful.