Kale is a nutrient-dense leafy green that is a popular ingredient in salads, smoothies, and other healthy dishes.
While kale is typically consumed fresh, freezing it can be a great way to preserve its flavor and nutrients for longer periods. Freezing kale is a simple process that can be done with just a few basic kitchen tools and supplies.
Freezing kale is a great way to ensure that you always have this nutritious vegetable on hand, even when it’s out of season.
When properly frozen, kale can last for up to 6 months in the freezer without losing its flavor or nutritional value. Whether you’re looking to stock up on kale for smoothies, salads, or other recipes, freezing is an easy and effective way to do so.
Freezing kale can be a great way to preserve its flavor and nutrients for longer periods.
Properly frozen kale can last for up to 6 months in the freezer without losing its flavor or nutritional value.
Freezing kale is a simple process that can be done with just a few basic kitchen tools and supplies.
Why Freeze Kale
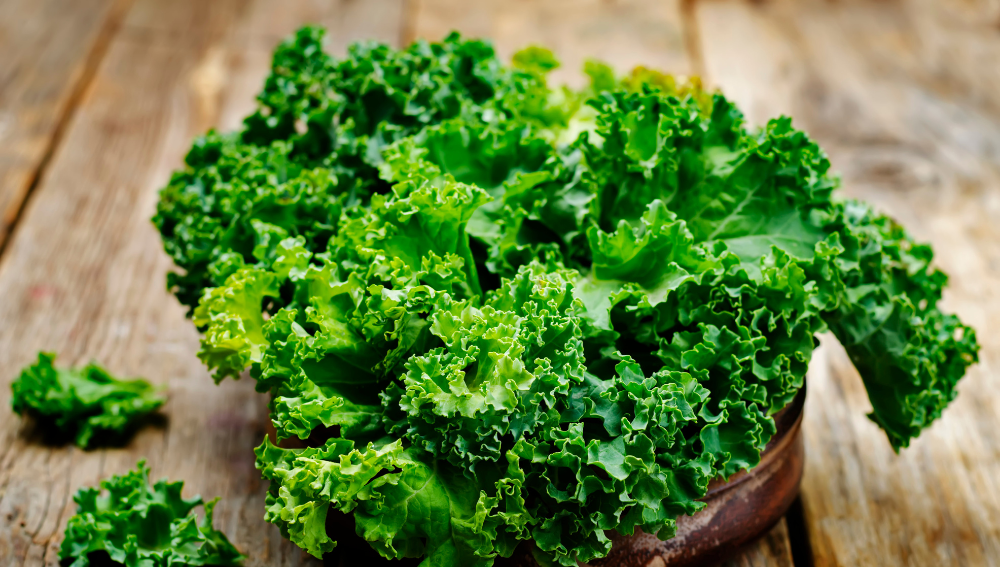
Kale is a nutritious and delicious leafy green that is packed with vitamins, minerals, and antioxidants. It is a versatile ingredient that can be used in a variety of recipes, from salads to smoothies to soups.
However, fresh kale has a short shelf life and can wilt or spoil quickly if not stored properly. That’s where freezing comes in.
Freezing kale is an excellent way to preserve its nutrients and flavor. When you freeze kale, you lock in its nutrients, which means that it will retain its nutritional value for months to come.
Additionally, frozen kale can be used in a variety of recipes, making it a convenient ingredient to have on hand.
One of the benefits of freezing kale is that it is an easy and cost-effective way to preserve this leafy green. Freezing kale requires minimal preparation and can be done using basic kitchen equipment.
Plus, frozen kale can be stored for several months, which means that you can enjoy this nutritious ingredient year-round.
Overall, freezing kale is an excellent way to preserve its nutrients and flavor. Whether you have an abundance of fresh kale that you want to preserve or want to have this nutritious ingredient on hand for future recipes, freezing is a simple and effective way to do so.
Choosing and Preparing Kale
When it comes to choosing kale, there are two main options: the grocery store or the farmers’ market. While both options can provide fresh kale, there are some differences to consider.
Grocery Store vs Farmers’ Market
Grocery stores often offer pre-packaged kale that has been washed and trimmed. While this may be convenient, it can also mean that the kale has been sitting on the shelf for a few days.
On the other hand, farmers’ markets offer freshly picked kale that has not been pre-washed or trimmed. This means that it may require a bit more preparation, but it will also be fresher.
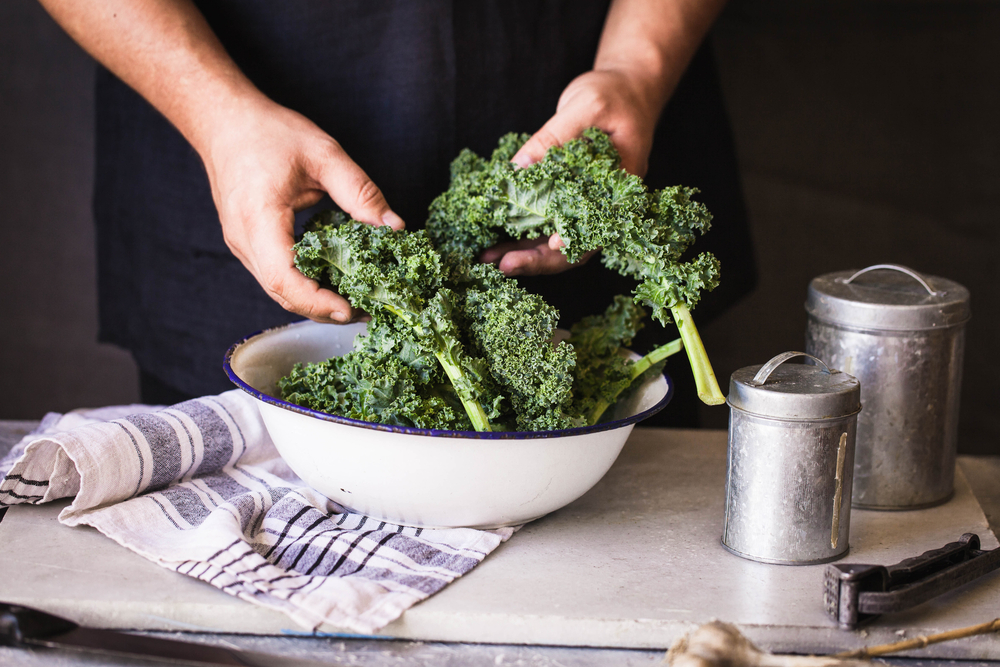
When choosing kale, look for leaves that are dark green and firm. Avoid any leaves that are yellow or wilted. If possible, choose kale with the stems still attached, as they can be used in recipes as well.
Prepping Fresh Kale
Before freezing kale, it is important to properly prep it. This involves washing and trimming the leaves. Here is a step-by-step guide:
Fill a large bowl with cold water.
Remove the kale leaves from the stems and discard the stems (or save them for later use).
Place the leaves in the bowl of water and swish them around to remove any dirt or debris.
Lift the leaves out of the water and place them in a colander or strainer to drain.
Pat the leaves dry with a clean kitchen towel or paper towel.
Once the kale is prepped, it is ready to be frozen.
Freezing Process
Freezing kale is a great way to preserve its nutrients and flavor for later use. Here are the steps to follow for an effective freezing process:
Blanching Kale
Blanching is a crucial step in the freezing process, as it helps to preserve the color, texture, and flavor of the kale. Follow these steps to blanch kale:
Bring a large pot of water to a boil.
While waiting for the water to boil, remove the kale leaves from the stems and rinse them thoroughly.
Once the water is boiling, add the kale leaves to the pot and blanch them for 2-3 minutes.
Remove the kale from the boiling water and immediately transfer them to an ice bath to stop the cooking process.
Drain the kale leaves and pat them dry with a clean towel.
Flash Freezing
Flash freezing is a technique that helps to prevent the kale leaves from sticking together and forming clumps. Here’s how to flash freeze kale:
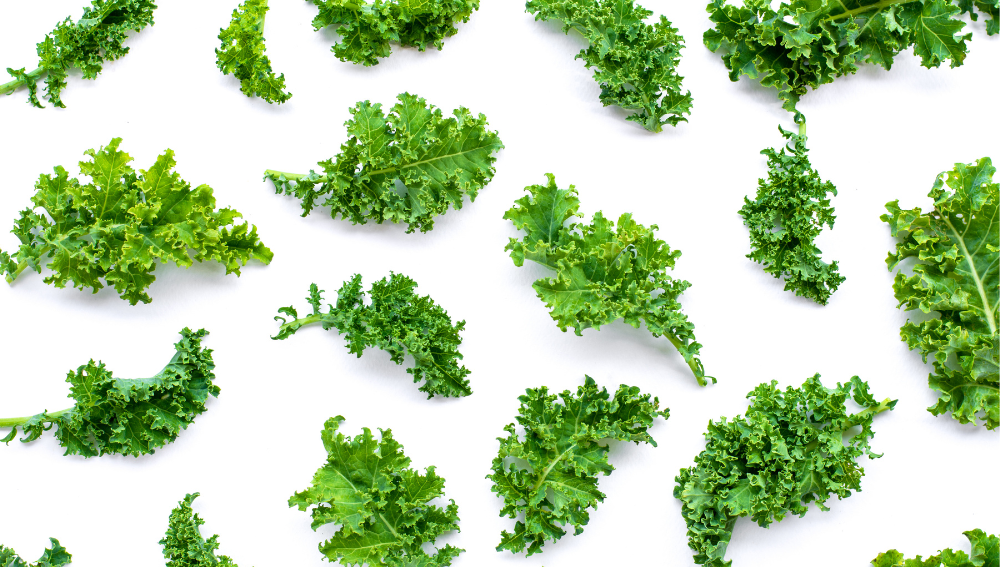
Lay the blanched and dried kale leaves in a single layer on a baking sheet.
Place the baking sheet in the freezer and freeze the kale leaves for 1-2 hours, or until they are completely frozen.
Once the kale leaves are frozen, remove them from the baking sheet and transfer them to a freezer-safe bag or container.
Packing and Storing
Proper packing and storing will help to prevent freezer burn and keep the kale fresh for longer. Here are some tips for packing and storing frozen kale:
Use freezer bags or containers that are specifically designed for freezing food.
Remove as much air as possible from the bag or container before sealing it.
Label the bag or container with the date and contents.
Store the frozen kale in the freezer for up to 8-12 months.
Overall, freezing kale is a simple and effective way to preserve its nutrients and flavor for later use. By following these steps, you can ensure that your frozen kale stays fresh and delicious for months to come.
Using Frozen Kale
Frozen kale is a versatile ingredient that can be used in a variety of dishes, from smoothies and stews to quiches and pasta sauces.
Here are some tips on how to use frozen kale in your cooking.
Thawing Process
Before using frozen kale, it is important to thaw it properly. There are two ways to do this:
Overnight in the refrigerator: Simply transfer the frozen kale from the freezer to the refrigerator the night before you plan to use it. This method allows the kale to thaw slowly and evenly, preserving its texture and flavor.
In the microwave: If you need to thaw the kale quickly, you can use the microwave. Place the frozen kale in a microwave-safe dish and microwave on high for 30-second intervals, stirring in between, until it is thawed.
Once the frozen kale is thawed, it can be used in a variety of recipes. Here are some ideas:
Smoothies: Frozen kale is a great addition to smoothies. Simply add a handful of thawed kale to your blender along with your other ingredients.
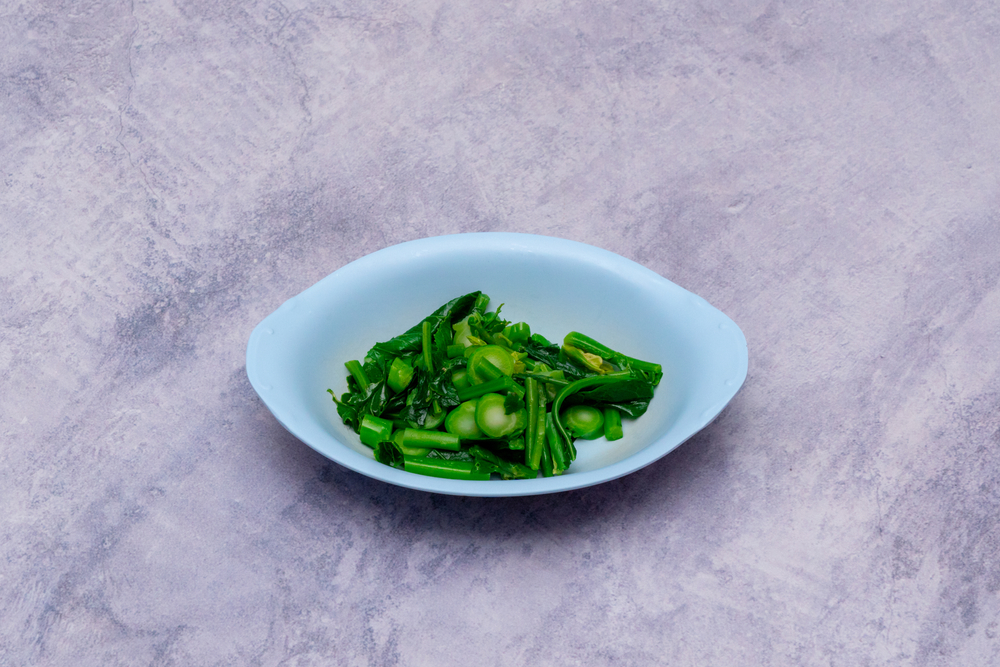
Stews and soups: Frozen kale can be added directly to stews and soups without the need to thaw it first. It will thaw and cook quickly in the hot liquid.
Quiche: Thawed kale can be added to quiche fillings for an extra boost of nutrition.
Sauces: Frozen kale can be pureed and added to pasta sauces or other sauces for extra flavor and nutrition.
Kale salad: Frozen kale can be thawed and used in salads. Simply thaw the kale, pat it dry, and use it as you would fresh kale.
Here is an example recipe for using frozen kale:
Zuppa Toscana
Ingredients:
1 pound spicy Italian sausage
1 onion, diced
4 cloves garlic, minced
4 cups chicken broth
4 cups water
3 large potatoes, diced
1 cup frozen kale, thawed
1/2 cup heavy cream
Instructions:
In a large pot, cook the sausage over medium-high heat until browned and cooked through. Remove from the pot and set aside.
Add the onion and garlic to the pot and cook until softened, about 5 minutes.
Add the chicken broth, water, and potatoes to the pot and bring to a boil. Reduce heat and simmer until the potatoes are tender, about 15 minutes.
Add the cooked sausage and thawed kale to the pot and simmer for an additional 5 minutes.
Stir in the heavy cream and serve hot.
Frozen kale is a convenient and nutritious ingredient to have on hand. By following these tips, you can easily incorporate it into your favorite recipes.
Freezing Other Leafy Greens
In addition to kale, there are several other leafy greens that freeze well and can be enjoyed year-round. Spinach, Swiss chard, beet greens, mustard greens, and turnip greens are just a few examples.
When freezing leafy greens, it is important to select young, tender greens with good color and no blemishes. Here are some general guidelines for freezing other leafy greens:
Wash the greens thoroughly and remove any tough stems or ribs.
Blanch the greens in boiling water for 2-3 minutes, depending on the type of green. See the chart below for specific blanching times.
Immediately transfer the greens to an ice water bath to stop the cooking process.
Drain the greens well and squeeze out any excess water.
Place the greens in freezer-safe bags or containers, removing as much air as possible before sealing.
Type of Green
Blanching Time
Spinach
2 minutes
Swiss chard
2 minutes
Beet greens
2 minutes
Mustard greens
2 minutes
Turnip greens
2 minutes
Frozen leafy greens can be stored in the freezer for up to 6 months. When ready to use, simply thaw the greens in the refrigerator overnight or use them directly from the freezer in soups, stews, smoothies, or other recipes.
It is important to note that freezing does not significantly affect the nutritional value of leafy greens. So, you can enjoy the same health benefits from frozen greens as you would from fresh ones.
Tips and Tricks for Freezing Kale
Freezing kale is a great way to preserve its nutrients and extend its shelf life. Here are some tips and tricks to help you freeze kale effectively:
Cleaning and Blanching
Before freezing kale, it is important to clean it thoroughly to remove any dirt or debris. Soak the leaves in a vinegar solution for 20 to 30 minutes to dislodge any hitchhikers. Rinse the leaves and pat them dry with a towel.
Blanching the kale before freezing helps to preserve its flavor and texture. To blanch kale, bring a large pot of water to a boil and add the kale. Cook for 2 to 3 minutes, then immediately transfer the kale to a bowl of ice water to stop the cooking process.
Portioning
Freezing kale in individual portions makes it easy to use in recipes. One way to do this is to freeze kale puree in ice cube trays. Once frozen, transfer the cubes to a freezer bag for easy storage.
Another option is to freeze cooked kale in canning jars, leaving about an inch of headspace to allow for expansion.
Avoiding Bitter Flavor
Kale can develop a bitter flavor when frozen for too long. To avoid this, blanch the kale for a shorter amount of time (about 1 minute) or skip blanching altogether. Another option is to add a pinch of salt to the blanching water to help reduce bitterness.
Recipe Ideas
Frozen kale can be used in a variety of recipes, including smoothies, soups, stews, and casseroles. Try adding frozen kale to your favorite smoothie recipe for an extra boost of nutrients. Or, add it to soups and stews for a hearty and healthy addition.
Storing and Thawing
Store frozen kale in an airtight container or freezer bag for up to 8 months. To thaw frozen kale, transfer it to the fridge and let it thaw overnight. Alternatively, add frozen kale directly to recipes that will be cooked for an extended period of time.
How Long Does Kale Last in the Freezer?
When frozen properly, kale can last up to 8 months in the freezer. To ensure the best quality, use frozen kale within 3 to 6 months.
Freezing kale in ice cube trays is a great way to portion out your kale for smoothies or other recipes. To do so, wash and chop your kale into small pieces, removing any tough stems.
Then, pack the kale into ice cube trays and fill with water. Freeze until solid, then transfer the kale cubes to a freezer-safe container or bag for storage.
How do I freeze kale for smoothies?
To freeze kale for smoothies, first wash and chop your kale into small pieces, removing any tough stems.
Then, blanch the kale in boiling water for 2-3 minutes, then immediately transfer to an ice water bath to stop the cooking process. Drain and pat dry, then pack into freezer-safe bags or containers and freeze until ready to use.
What are some ways to use frozen kale?
Frozen kale can be used in a variety of recipes, including smoothies, soups, stews, casseroles, and more. It can also be sautéed or roasted as a side dish. Simply thaw the kale before using in your recipe, or add it directly to soups and stews while still frozen.
What is the best way to freeze cooked kale?
To freeze cooked kale, allow it to cool completely before packing it into freezer-safe bags or containers. Be sure to remove as much air as possible to prevent freezer burn. Cooked kale can be frozen for up to 6 months.
How can I freeze kale and spinach for smoothies?
To freeze kale and spinach for smoothies, wash and chop the greens into small pieces, removing any tough stems.
Blanch in boiling water for 2-3 minutes, then immediately transfer to an ice water bath to stop the cooking process. Drain and pat dry, then pack into freezer-safe bags or containers and freeze until ready to use.
How long can I freeze kale before it goes bad?
Kale can be frozen for up to 6 months before it starts to lose its quality. Be sure to label your frozen kale with the date it was frozen, and use it within 6 months for best results.