Canning green beans is a great way to preserve the bounty of your garden. The process is simple, but it requires a pressure cooker to ensure that the canning process reaches temperatures high enough to kill any bacteria that could be harmful.
If you don’t have a pressure cooker or don’t want to use one, there are still options for preserving green beans at home. You just need to be sure they meet USDA guidelines for canning without pressure.
If you don’t have a pressure cooker, you are able to can your green beans with a pickling solution and a hot bath to seal the canning jars.
Is There a Way to Can Green Beans Without a Pressure Cooker?
If you’re familiar with the process of canning then you already know that using a pressure cooker is the only way to make sure you kill any bacteria. More importantly, pressure canning is the only way to make sure that you don’t have to worry about killing potential botulism in your canned goods.
While hot water bath canning is always an option that many use, that alone is not a scientifically proven way to reduce your risks of a botulism population in your canned goods.
If you don’t have a pressure canner or are timid about using one there are ways to can your green beans effectively.
A hot water bath alone is not the best way to can your green beans. You’ll need to cover your beans in a pickling liquid that includes vinegar in order to protect your green beans, and anyone eating them properly. After that, it’s up to you how to cook them each time you crack open a jar.
How to Can Green Beans Without a Pressure Cooker?
What You’ll Need
- Canning jars with clean new lids
- Salt
- A pickling mix that includes vinegar
- Water
- Large stock pot
Step 1: You must thoroughly wash your green beans
This step is so important! Bacteria is a real risk when you’re canning and if you don’t thoroughly wash your beans, you’re opening yourself up for a great deal of trouble.
Give them a good soak in cold water. Any foreign material can carry bacteria into your jars, so make sure you get all dirt and such off the beans.
After soaking them for a few minutes, then toss them around in the water to knock out any dirt that you just loosened by soaking.
Rinse them thoroughly with fresh water.
Whether you’re canning beans that you bought at the market or some you’ve grown yourself, you need to wash them. It’s not only about the dirt either, but any chemical residues that may still be on the vegetables as well.
Step 2: Make bite-size pieces
In most cases, you’ll need to cut the beans smaller to fit properly in your jars.
How small you cut them is up to you. Start by cutting both ends off the beans and then decide on your preferred length.
The majority of people use about a one-inch bean piece when canning. This makes them bite size and easy to eat. There are some that can their beans at full length after cutting off the top and tail. It really is up to you.
Step 3: Add Salt
Your canning jars should be cleaned and sterilized. This is also a crucial part of safe canning practices. Between clean, sterilized jars and new, clean lids, you’re on the right path to good, clean canning that will last.
Once you’re sure your jars are ready, add salt to the bottom of them. If you’re using pint jars, you’ll want to add a half teaspoon to the bottom of the jar and one teaspoon for a quart-sized jar. It’s not a lot!
Make sure you add the salt before you add your beans.
Sea salt is best for these purposes and iodized salt is not recommended. Salt helps keep your beans fresh for longer.
Step 4: Time to choose your storage method
Here’s the big decision: are you going to store them cold or cook them?
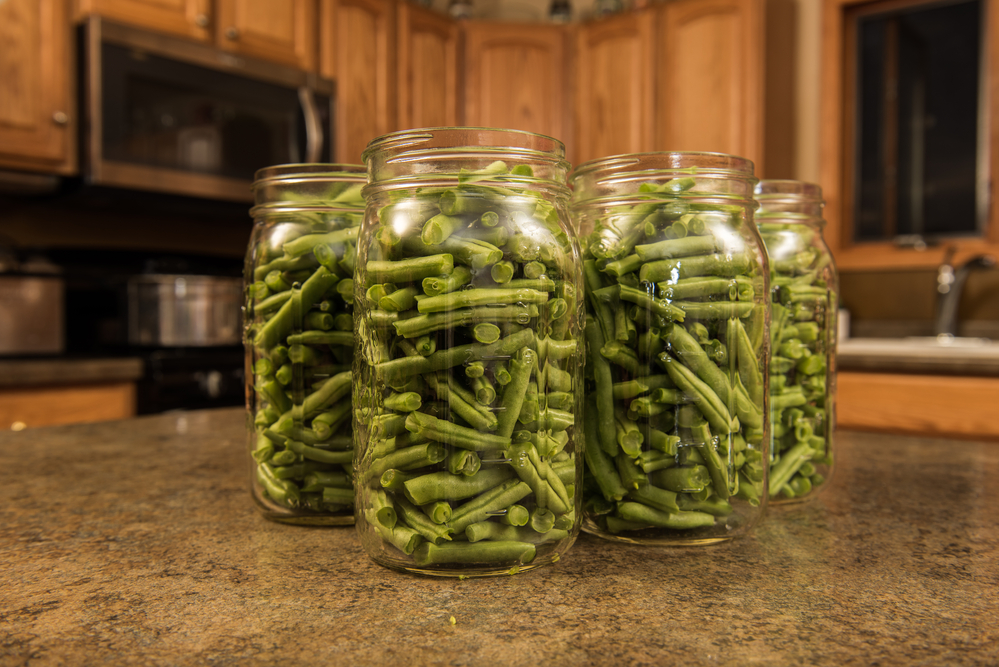
Cold
This is the simplest method. You’re simply going to put your raw green bean pieces into the jar. In order to be successful at the cold pack method you’ll need to have enough beans to fill your jars to the rim.
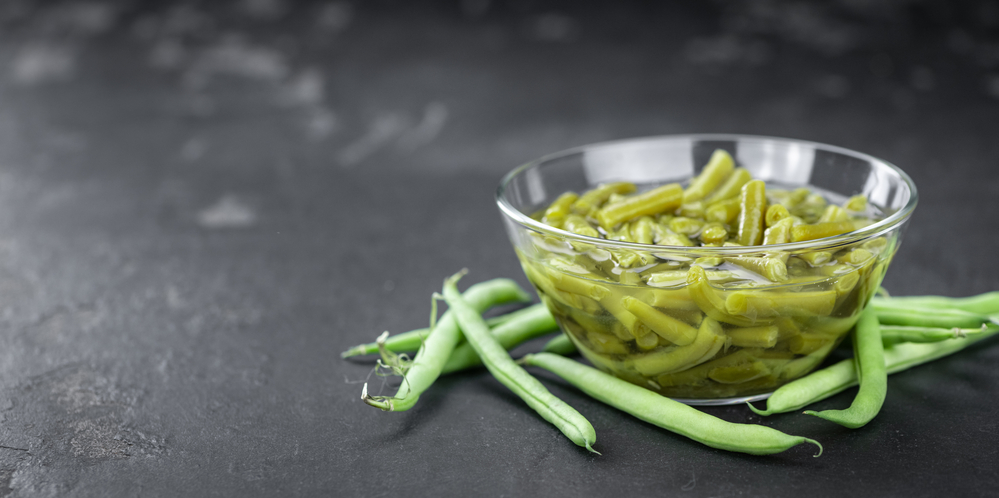
Cook
Also known as the hot pack method, you’re going to boil your beans before you can them. If you choose this method you’re not going to want to boil the beans for more than 5 minutes. Any longer and you will lose that crunchy snap that we love about beans.
Make sure you drain your cooked beans thoroughly before adding them to the jars.
Step 5: Pickling
Here’s the most important step when you’re not using a pressure cooker. If you’re canning beans without a pressure cooker you must cover them with a pickling mix.
Beans alone aren’t acidic. It’s the acidity in typical canning vegetables that help preserve them over time. You have to add vinegar to help with this process.
What pickling mixture you use is a personal preference. Believe it or not, there are a lot of options out there when it comes to pickling solutions. Make sure that whichever you choose has vinegar, water, and salt.
A quick and easy pickling solution is this: equal parts water and vinegar, and a pinch of salt. Add any other herbs or flavors you think might be tasty.
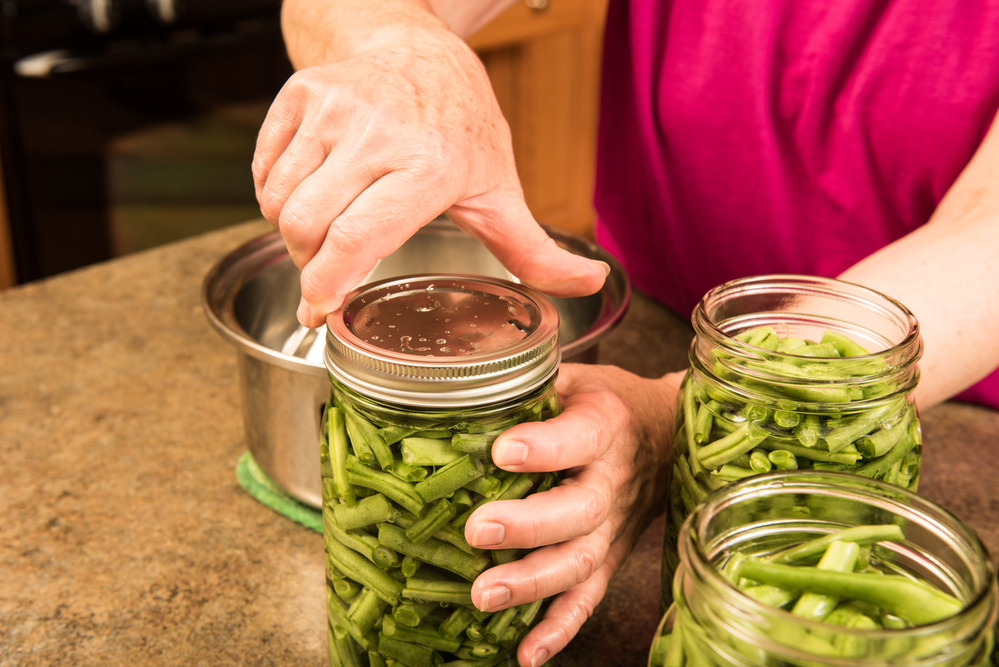
Step 6: Sealing
The next most important step is sealing the lids on the jars.
You don’t want to trap any air pockets in the fluid around the beans. Air in your canning jars is bad beyond the tiny lip at the top.
Using a spoon, press the beans down into the jar to release any trapped air. This may cause some fluid to drip over the sides. You can clean that up once you’re sure no more bubbles remain.
Smaller bubbles can sometimes be released with a lid tap of the jar on the counter or table you’re working on.
Once all the bubbles have been released. Wipe the lips of the jars and secure on the lids. Make sure your lids are clean before sealing them on the jars.
Step 7: Hot Water Bath
Boil water in your stock pot and place your jars into the water carefully. You’ll want to make sure the lids are submerged under the water by at least an inch.
Boil your jars in hot water for at least 5 minutes. Larger jars you may want to boil longer to make sure they’re heated through. You shouldn’t boil for longer than 10 minutes.
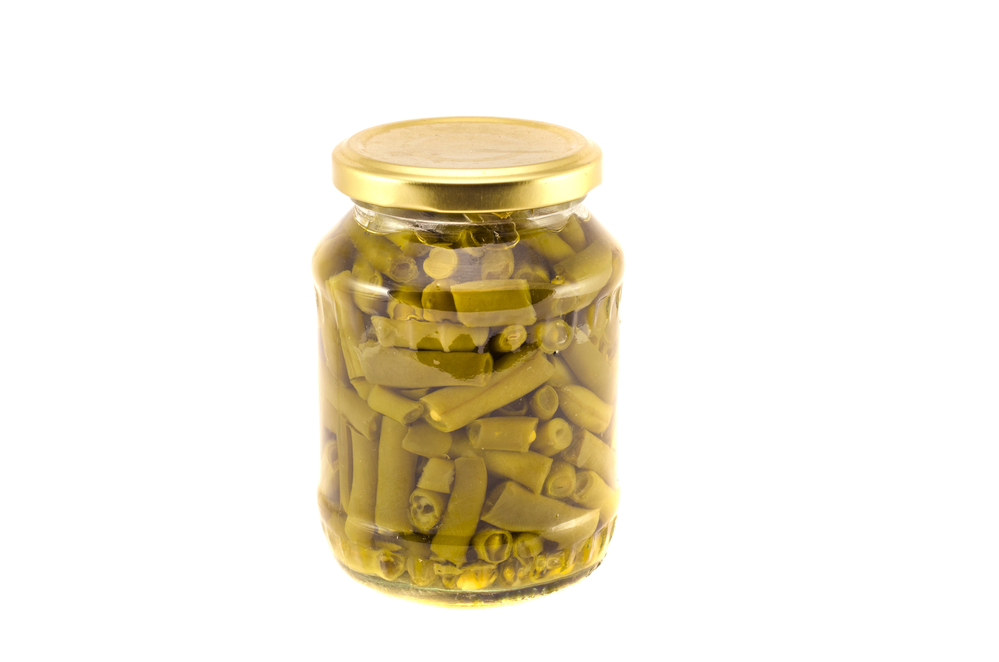
Step 8: Cool Down
Remove your jars from the hot water bath and let them cool on the counter. If you listen as they cool, you’ll hear the tell-tale pop of the lids sealing down.
Green beans canned by this method can be stored in a dark place with a consistent temperature (room temperature is good). Once opened, they need to be refrigerated. They’ll last about 4 days in the fridge after opening.
Related post: How to Cook Goya Small White Beans
Frequently Asked Questions
What is the best method of canning green beans?
There isn’t necessarily the best way. The most convenient, simplest, and safest way is through pressure canning. This requires a pressure cooker and some boiling water.
Without the pressure cooker, the above method is the best way to preserve your green beans.
How long do you boil green beans when canning?
There are two times you’ll boil your green beans when canning, but that’s only if you’re using the hot pack method.
If using the hot pack method, you’re going to slightly cook your green beans by boiling them before putting them into your canning jars. At this step, you won’t want to boil them for more than 5 minutes.
The second time they’ll be boiled is when you’re sealing the jars. In the hot water bath, your jars will be boiled for anywhere between 5 and 10 minutes depending on the size of the jars.
What vegetable can be canned in a hot water bath?

Water bath canning is usually reserved for vegetables that have a high acid content. If you’re canning something like green beans that don’t have that high acid content, then you need to pickle them for preservation.
Hot water baths are reserved for canning things like jams, jellies, and pickled veggies. The vegetables would include tomatoes, sauerkraut, pickles, and peppers.
Conclusion
No, you don’t have to use a pressure canner in order to can your green beans. While the pressure canning process is the simplest and safest method to can your green beans, it’s not always possible.
In the end, the pressure canning process is the only one that has been scientifically proven to protect you from the potential for botulism contamination.
By pickling your green beans in the canning process you can safely can your green beans and use only a hot water bath to seal your jars. This will affect the flavor, but not necessarily in a bad way.